by Myles Katherine ❤
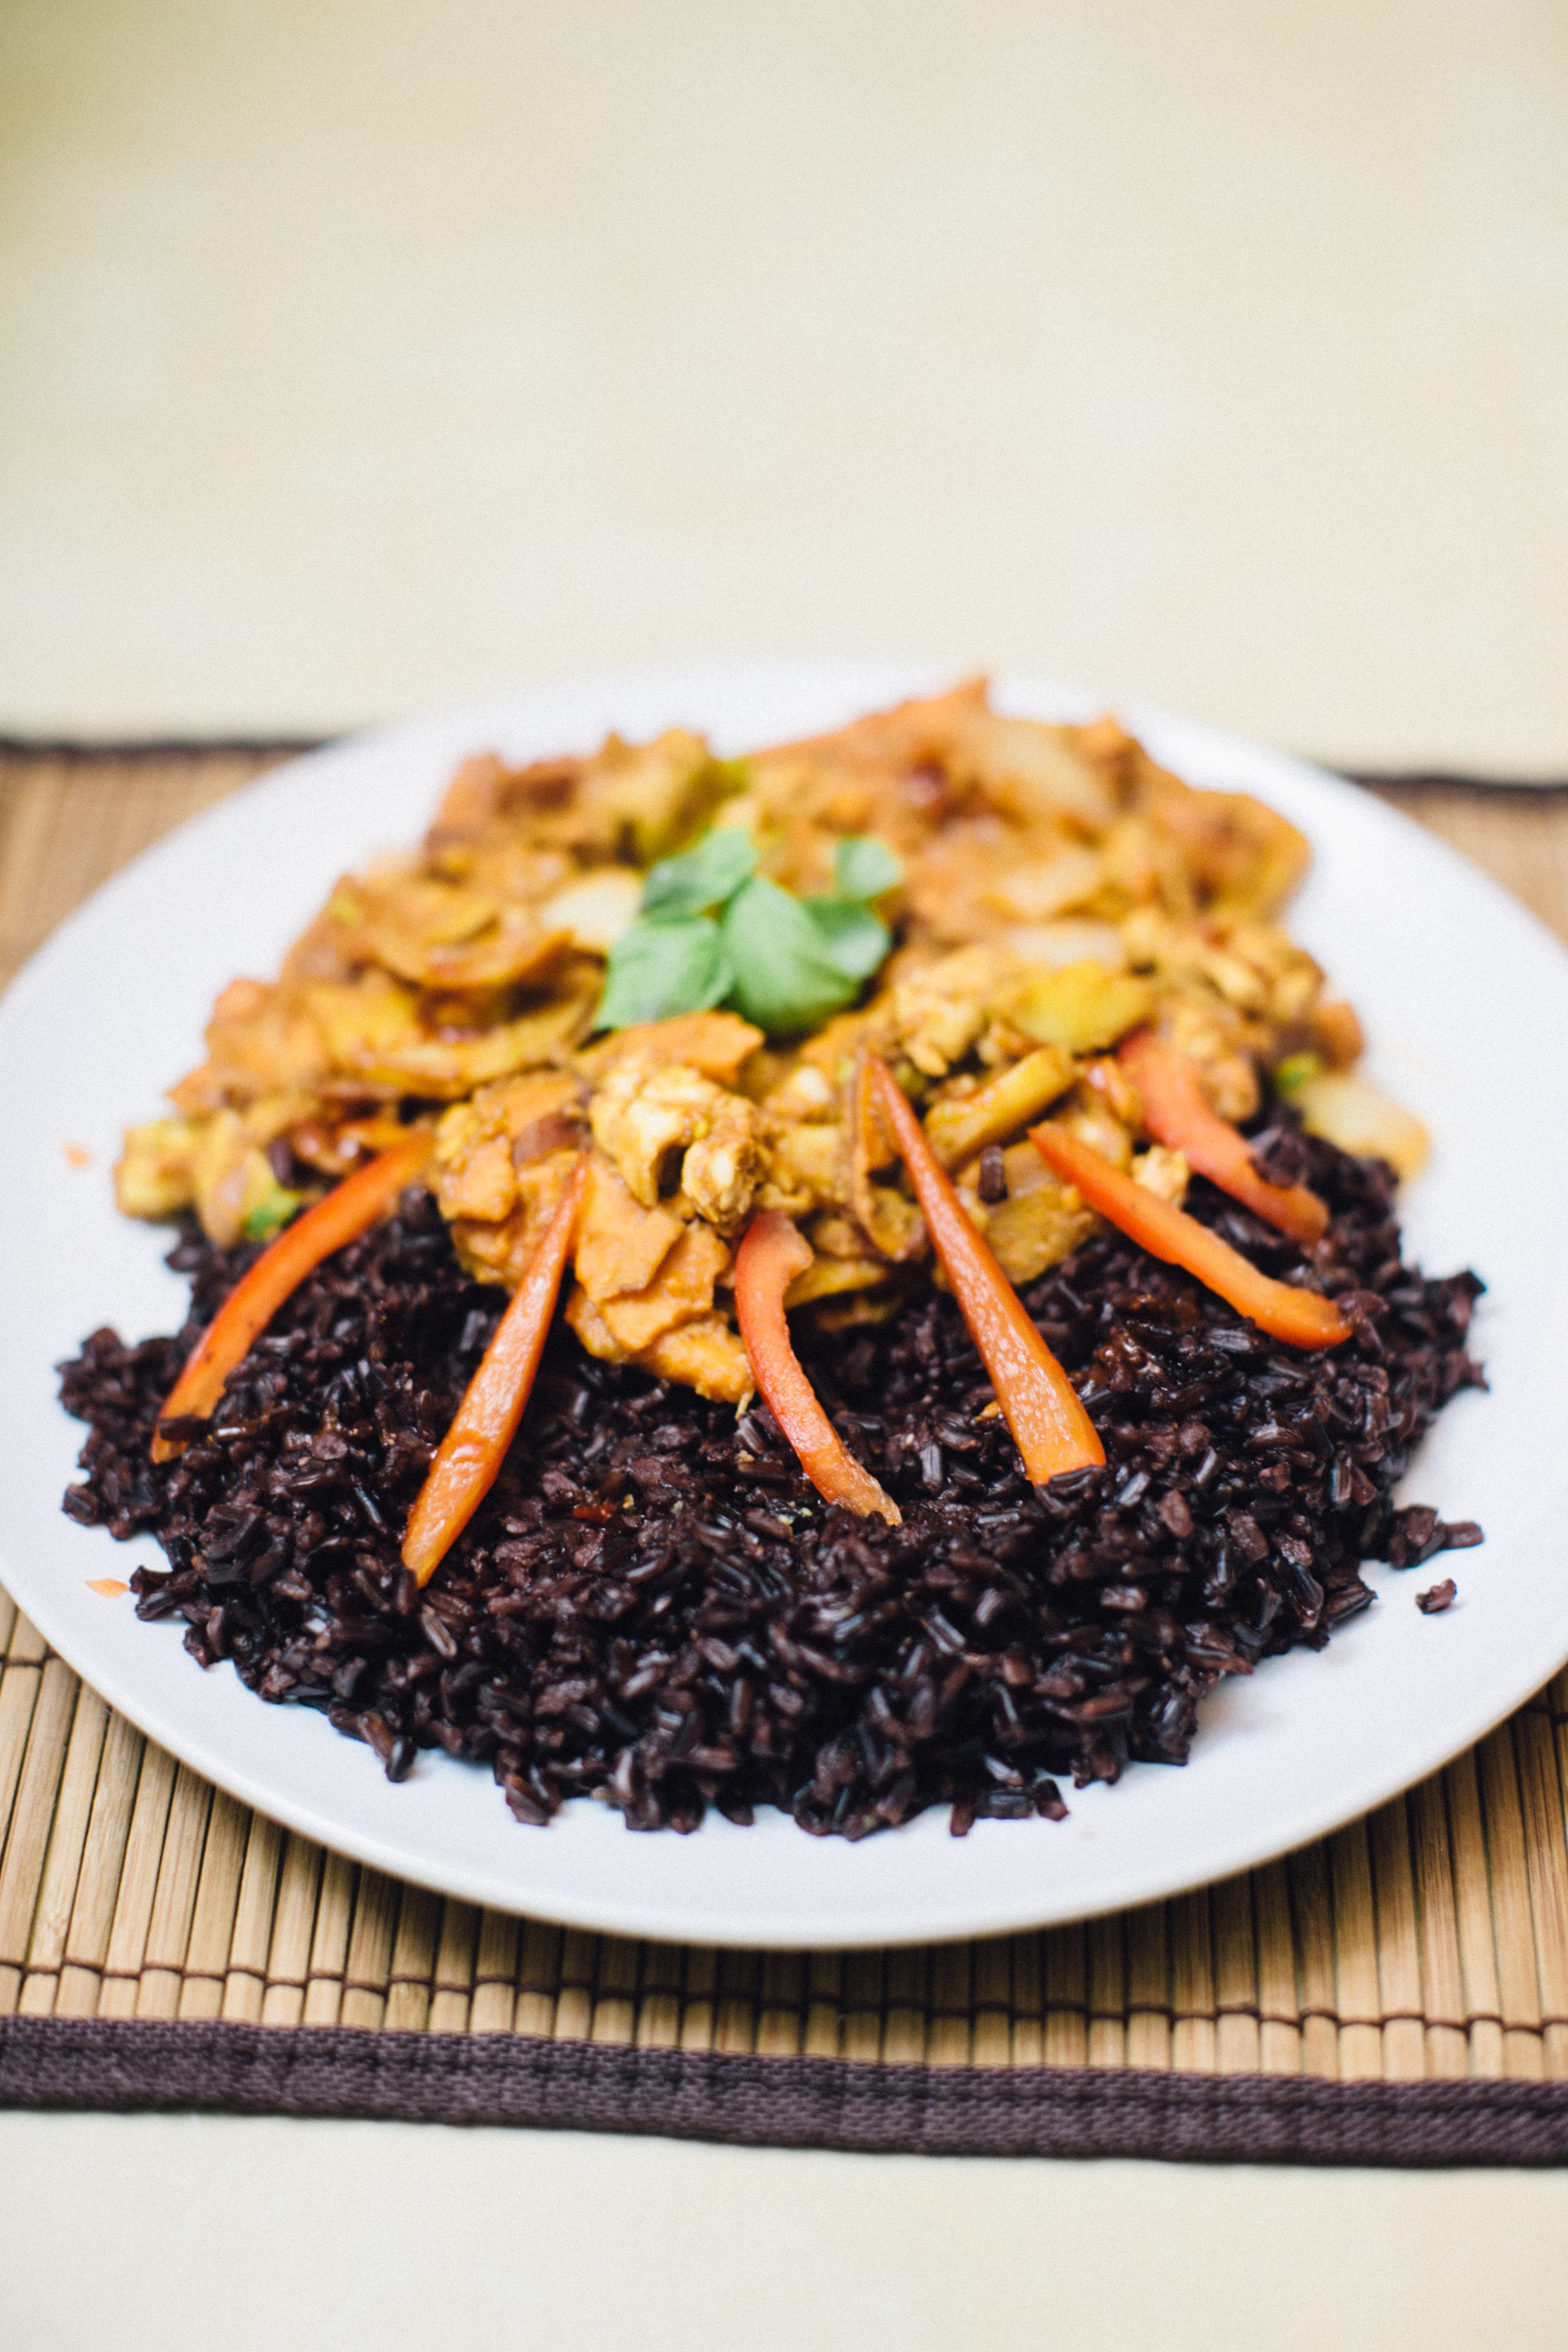
Curry is one of my favorite dishes to make because you can improvise using whatever vegetables you have in your house. I could hardly wait to try the Red Curry from my Try the World Thailand Box (read more about Try the World here) because I’ve heard such great things about it. You can use CLB20 for 20% off your first order!
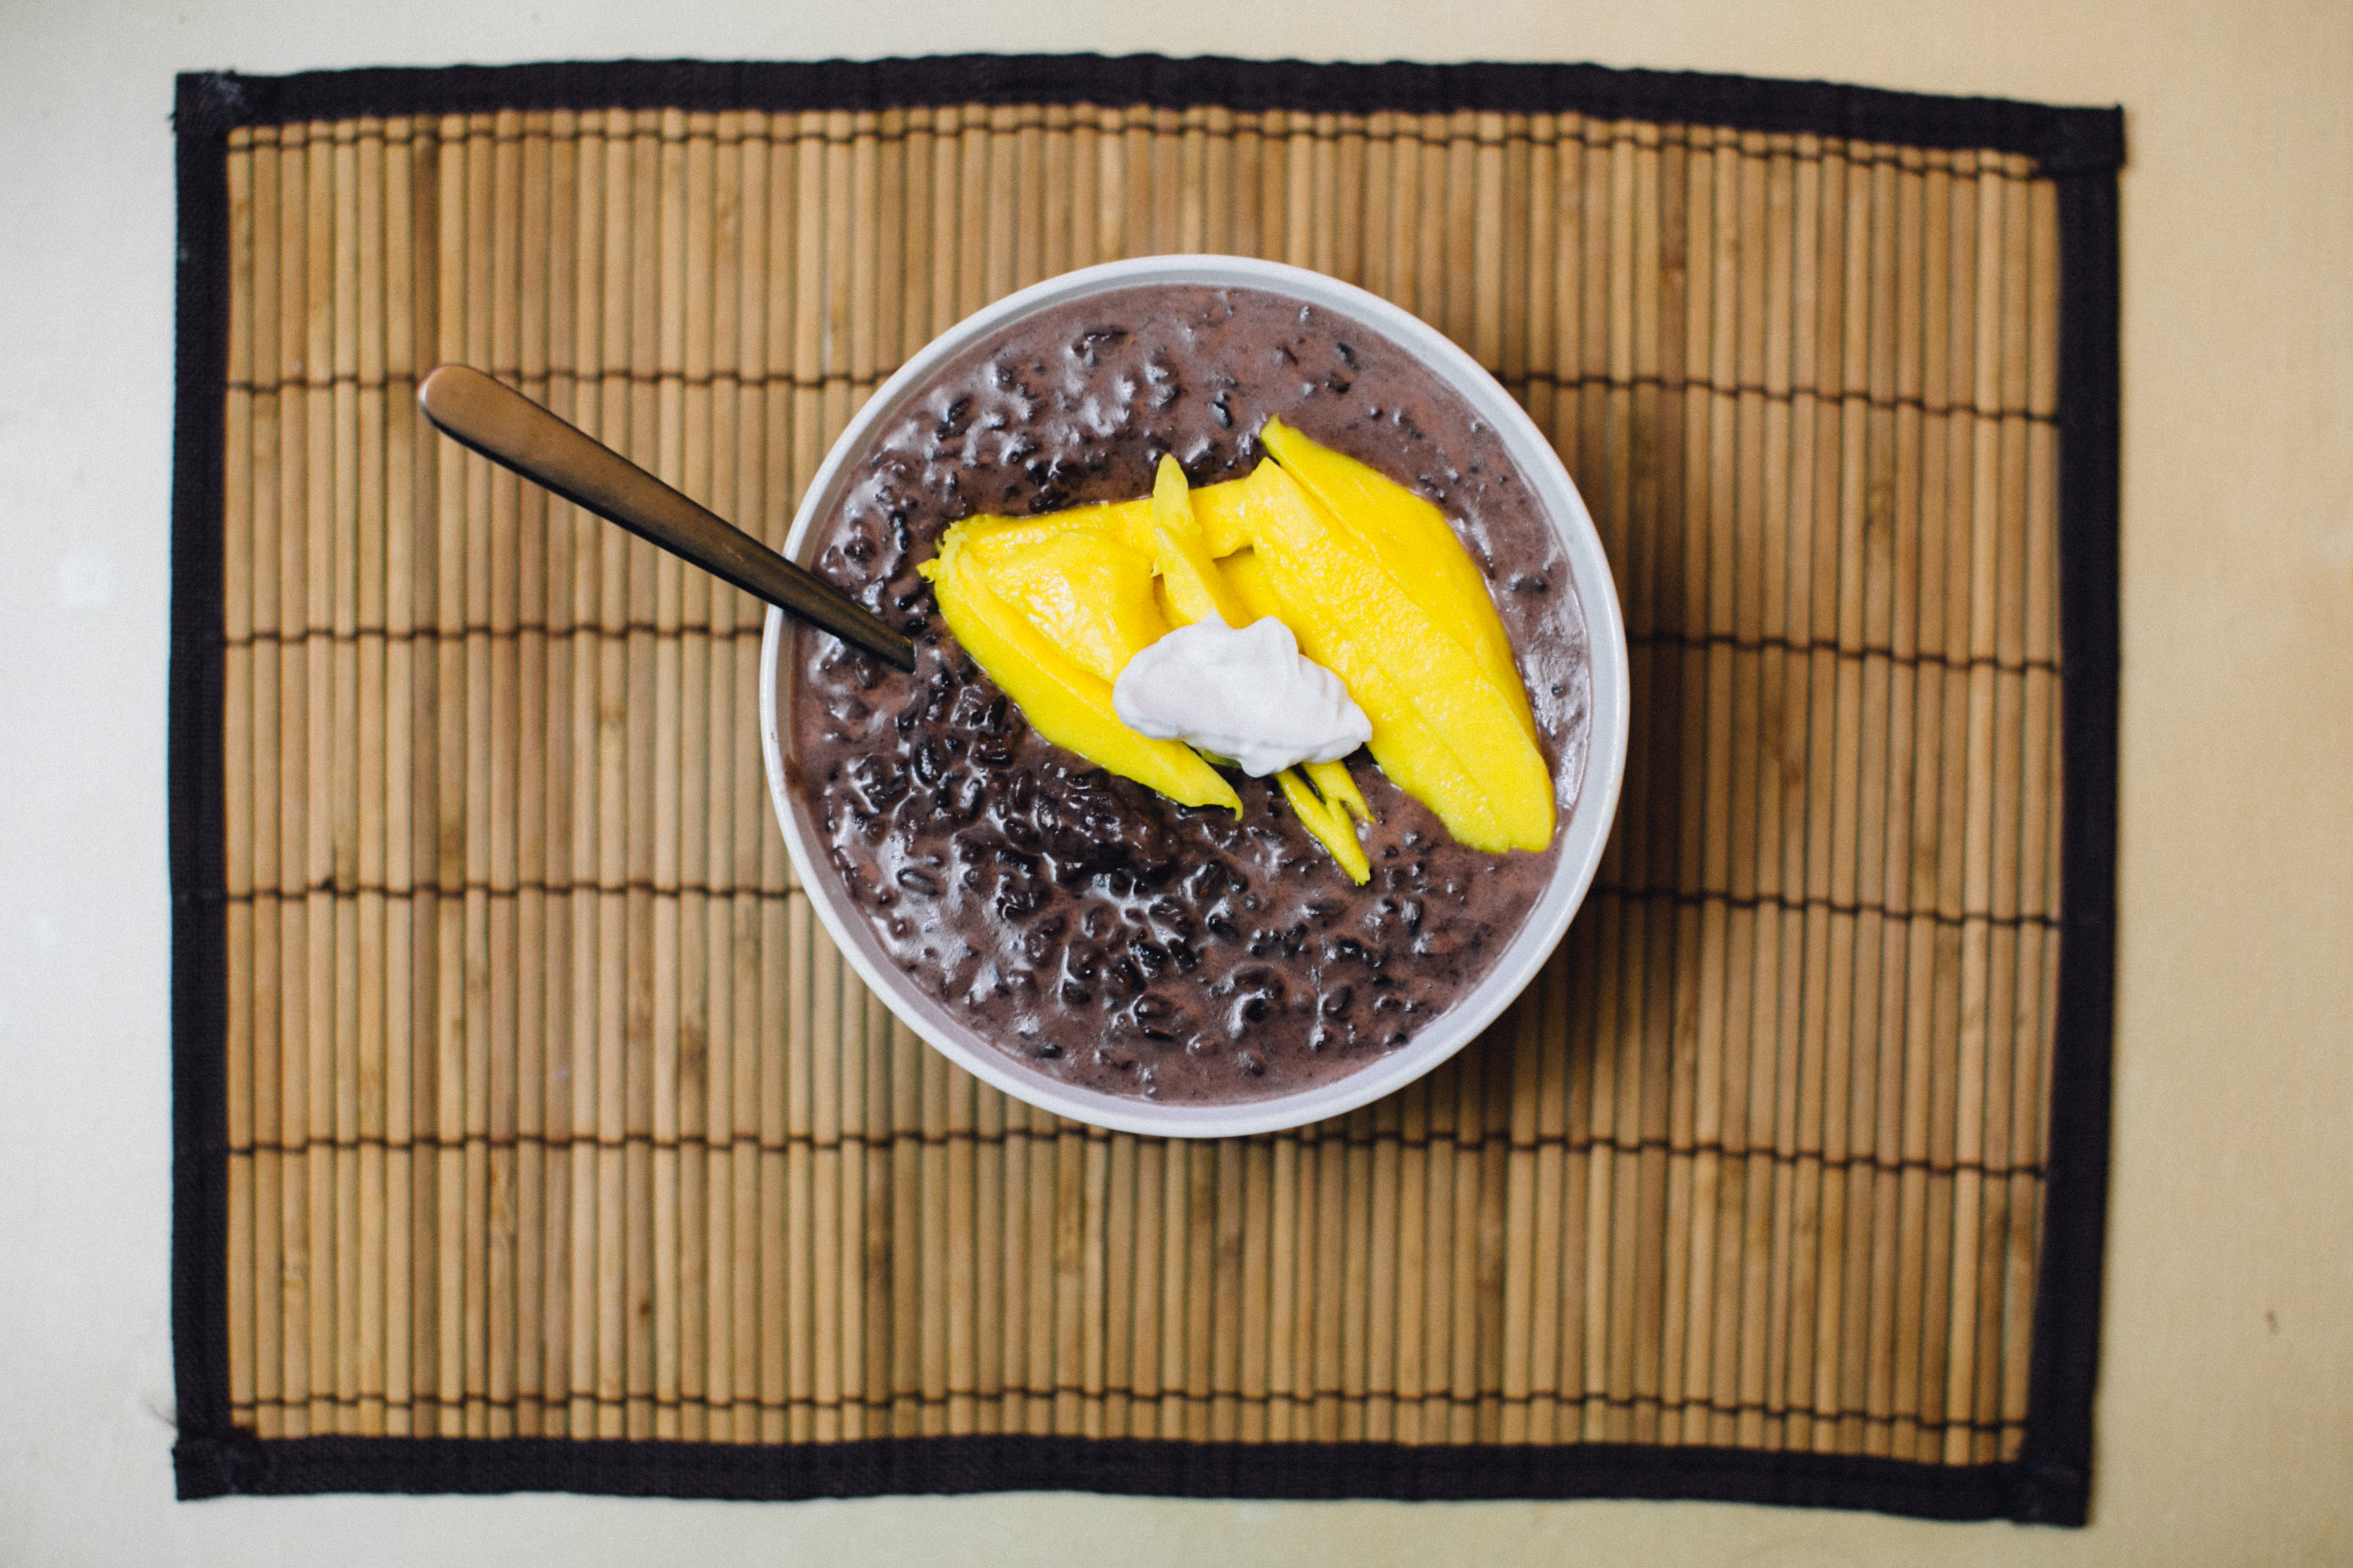
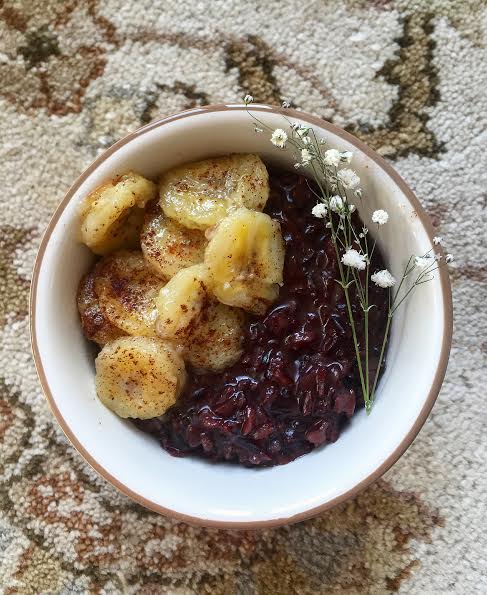
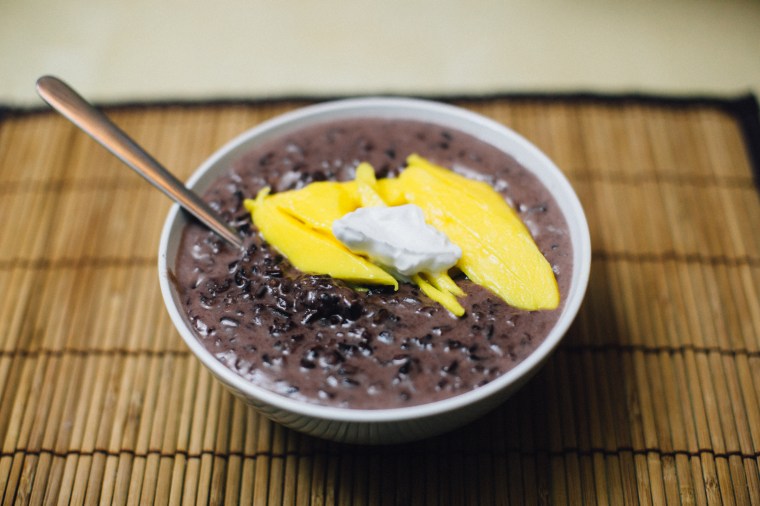
For dessert, Jasberry Rice Pudding with sliced mango. My sister made the Jasberry Rice Pudding with Banana slices earlier this week. If you don’t want to sign up for the subscription boxes, you can still order these ingredients (like the Jasberry Rice and Nittaya Curry Paste) from their online store!
I adapted the recipes to serve 2 instead of 4, and used chicken instead of beef. I also didn’t have fish sauce so I used soy sauce for the salty flavor. 🙂
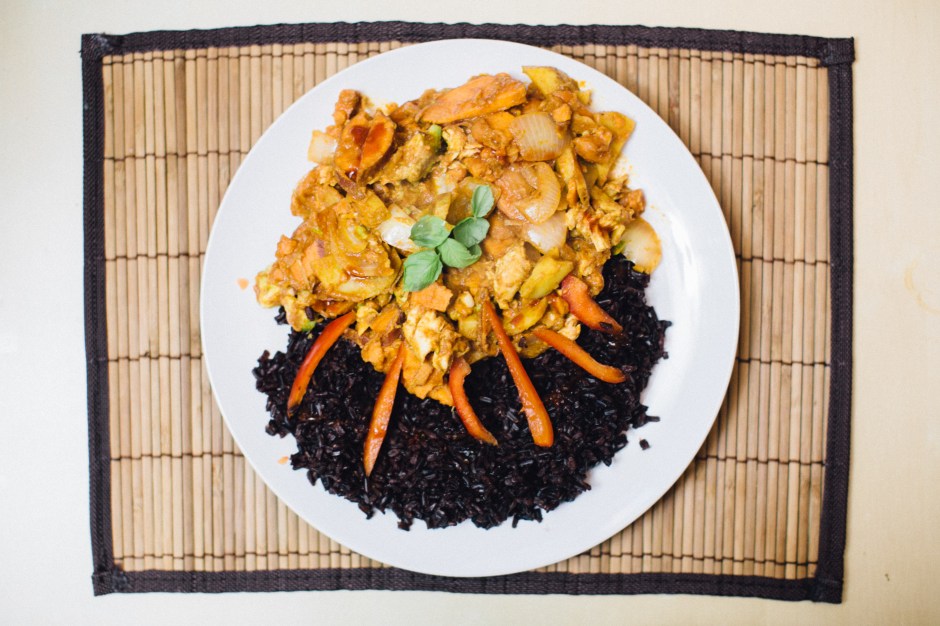
RED CURRY WITH CHICKEN AND AVOCADO
Ingredients:
From the Try the World Thailand Box
– 2-3 TBSP Nittaya Thai Curry paste (can be substituted with other curry pastes)
– 1 cup cooked Jasberry rice (can be substituted with white or brown rice)
From Your Pantry
– 1 14.0z can of coconut milk
– 1 TBSP soy sauce or 1 TBSP fish sauce
-2 TBSP Tamarind Concentrate or 1/2 TBSP Tamarind Paste
– 1 TSP sugar
Fresh Meat & Produce:
-4 Fresh Kaffir Lime Leave (optional)
– 1 Russet Potato, peeled and diced
– 1 Sweet Potato, peeled and diced
– 1 Large Carrot, cut lenthwise and sliced 1/4 inch thin
– 1/4 cup basil (with stems)
– 1/2 pound boneless white chicken, sliced
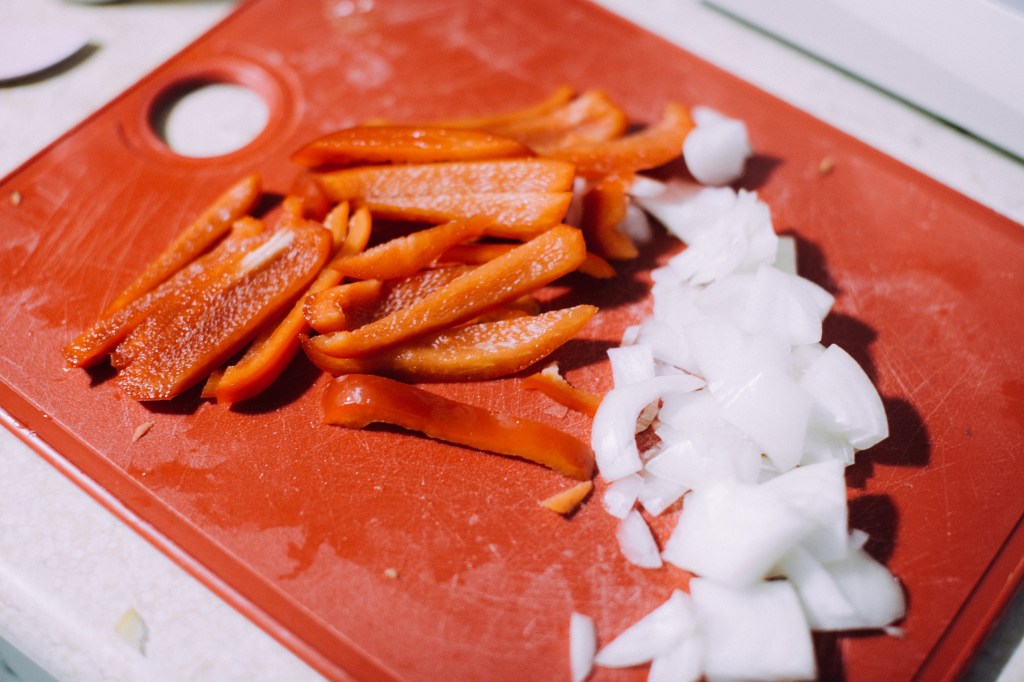
– 1/4 small onion, thinly sliced
-2 cloves of garlic, chopped
– 1/4 red bell pepper, sliced, for garnish
-1/2 avocado, diced
Directions:
- Heat a skillet over moderate heat. Combine 3 to 5 tablespoons of the thick coconut cream from the tops of the can with the curry paste and lime leaves. Transfer to a pot and cook until fragrant and browned, about 3 minutes.
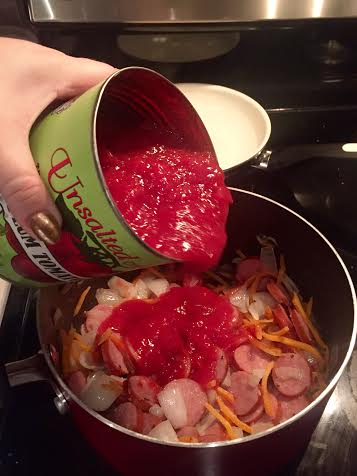
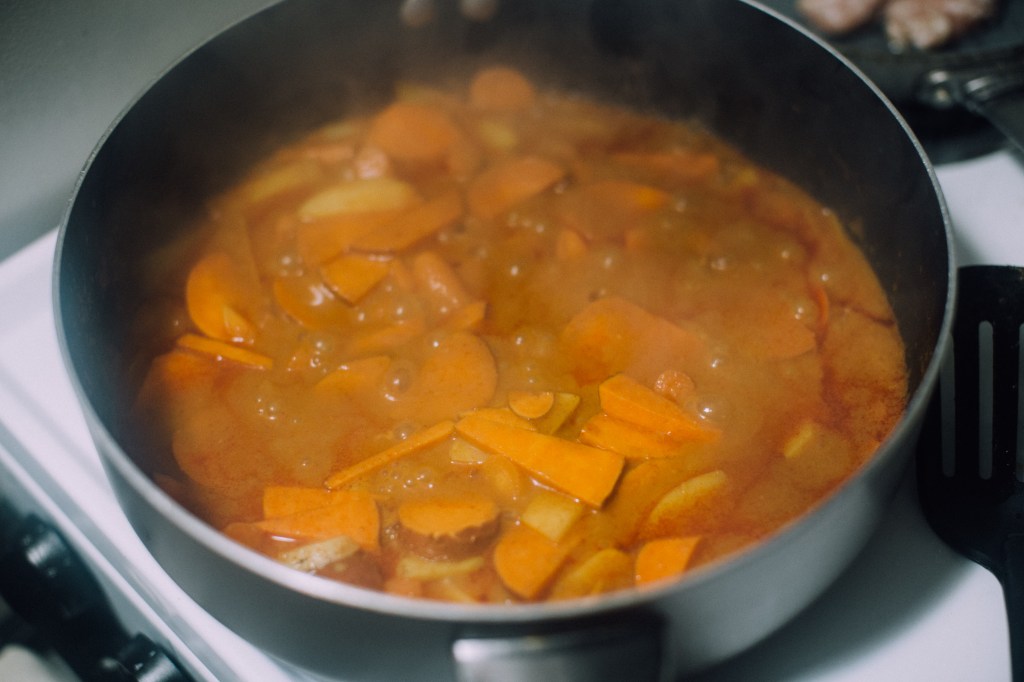
- Add the remaining coconut milk and bring to a boil. Add the potatoes, carrots and basil leaves and continue to boil until reduced by a quarter, 5 to 10 minutes.
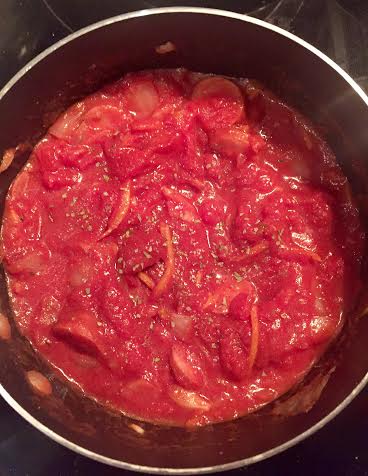
3. Add the chicken, onion, garlic, soy sauce or fish sauce, tamarind concentrate and sugar. Reduce the heat and let simmer until the chicken and vegetables are cooked through, about 20 minutes.
4. Add the avocado and mix in until warm. Transfer to two plates, garnish with bell peppers, and serve with the cooked rice.
JASBERRY RICE PUDDING WITH MANGO
(adapted from Try the World – serves 2)
Ingredients:
From the Try the World Thailand Box
-1/2 cup Jasberry Rice
From Your Pantry
-1/4 TSP salt
– 1/2 13.7 oz can coconut cream, stirred
– 1/8 cup brown sugar
– Fruit (optional), for garnish
Directions:
- Bring the rice, salt and 2 and 1/4 cups of water to a boil. Cover, reduce the heat, and let simmer for 35 minutes. Strain, then return to the pot. Stir in 1/2 cup of coconut milk and the sugar and bring to a boil over high heat, then reduce and let simmer, stirring occasionally for about 20 minutes. Let cool.
- Transfer to two bowls, add the remaining coconut milk, and garnish with fruit.