Crema Catalana

Inspired by the Spain Box from Try the World, I made the Crema Catalana recipe from their online magazine with my own twist to it.

CC 4

The original recipe is below:

INGREDIENTS

  • 4 egg yolks
  • ¼ cup sugar
  • 2½ Tbsp. cornstarch
  • 2 cups plus 2 Tbsp. milk
  • Grated zest of ½ orange (or in my case honey!)
  • Pinch of salt
  • 4 Tbsp. P. Listo jam
  • 4 Tbsp. sugar

DIRECTIONS

1. In a small bowl using a hand held mixer, beat together the egg yolks and sugar until pale and creamy, about 5 minutes. In a separate, larger bowl, whisk together the cornstarch and 2 tablespoons milk until the cornstarch dissolves.

2. In a saucepan, combine the remaining 2 cups milk, orange zest, and salt. Heat over moderate heat, stirring constantly, until small bubbles form along the edge of the saucepan. Once the bubbles appear, lower the heat to keep warm.

3. Add the egg and sugar mixture to the cornstarch mixture and whisk until homogenous. Slowly pour in the warm milk, whisking constantly, until smooth and homogenous, then pour back into the saucepan. Heat the mixture over low heat, stirring constantly with a spoon, until it thickens, 10 to 12 minutes. Do not allow to boil.

4. Pour the mixture into 4 ramekins, then cover and chill in the refrigerator until firm, at least 3 hours.

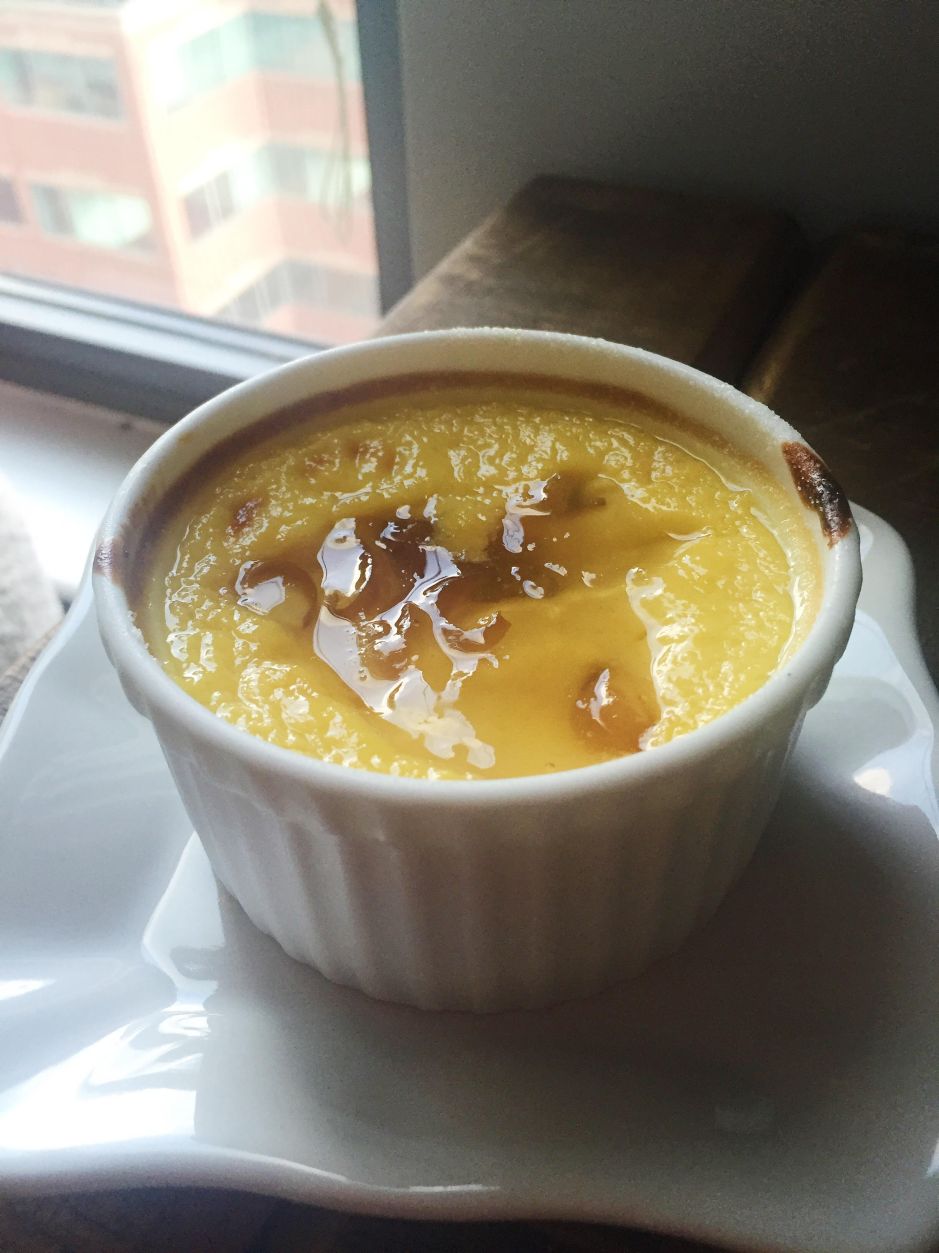
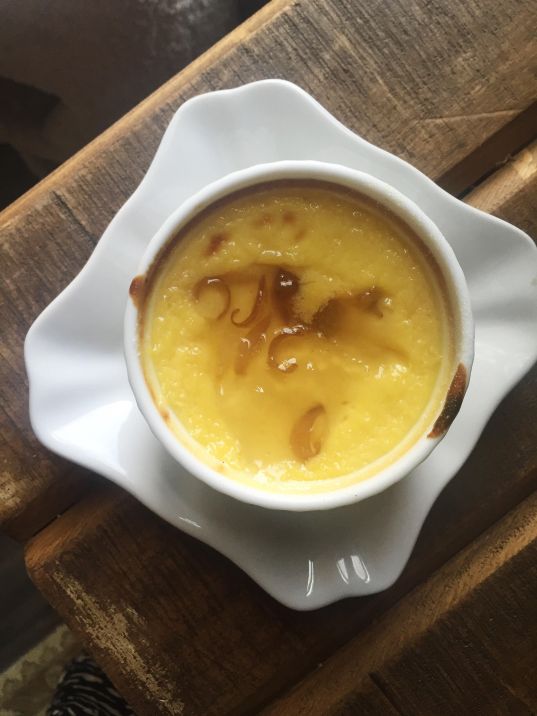
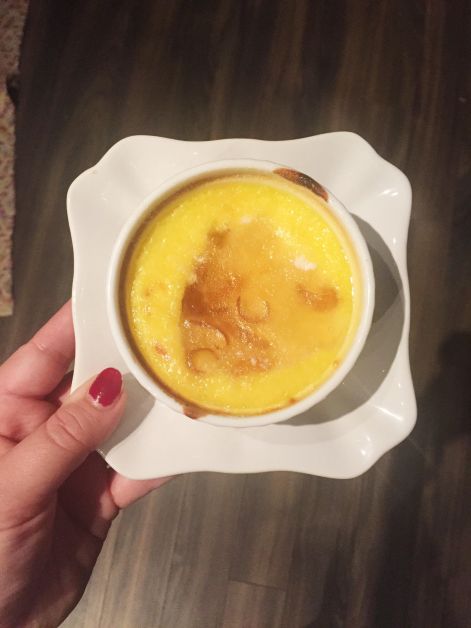
6. Remove the ramekins from the fridge and spoon 1 tablespoon of the jam onto each custard. Sprinkle with the sugar, then broil until the tops are caramelized, about 5 minutes. Serve immediately.

Note that instead of using orange zest, I added about a tablespoon of an organic lavender honey that I have newly acquired and which is absolutely delectable.

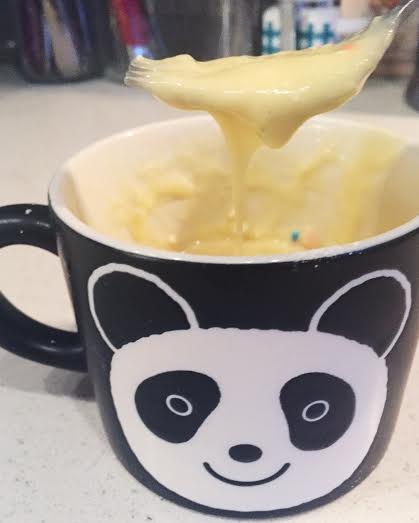
I had never cooked with ramekins before, so I bought mine from Crate & Barrel (only $2.95 per dish!)  on the way home from work one day and am so excited to have them as a new addition to my kitchen!

I’m disappointed because I didn’t have a torch to really get the sugar bubbled and crispy, instead I broiled mine in the oven for a few minutes. They were still sweet and delicious though!

CC 3

CC 2

Enjoy ❤

Strawberry Cheesecake French Toast

FT 8

In case it’s not completely obvious, strawberries are my absolute favorite fruit. And I happen to also love eating sweet, dessert-like brunch food! This recipe was actually adapted from a foodie Facebook video that a family member of mine had shared. My mother showed it to me and we knew we had to make it the next morning…with our own adjustments of course! It ended up being the perfect meal to start off our Memorial Day Weekend before going hiking in the Blue Ridge Mountains.

Ingredients:

10 Slices of Brioche Bread (to make five French Toast “Sandwiches”)

3/4 Cup of Chopped Strawberries (or any fruit you prefer!)

4 Large Eggs

3/4 Cup of Milk

1/2 Tsp of Cinnamon

Filling:

1 Package of softened Cream Cheese

1/3 Cup of White Sugar

1 Teaspoon of Vanilla Extract

(Optional) 1 Egg

Sugar Coating:

1/4 Cup of Brown Sugar

3 Tablespoons of White Sugar

1 1/2 Teaspoons of Cinnamon

  1. Heat a large skillet or pan on medium heat.
  2. To make the French Toast Egg mixture, beat the 4 eggs together, then add the milk and cinnamon and stir until fully blended. Set aside.
  3. In a separate bowl, beat the cream cheese, sugar, egg, and vanilla extract until fully blended. I recommend using an electric beater for this part. Set aside.
  4. Mix the brown sugar, white sugar and cinnamon in a small bowl and set aside
  5. Add butter to the heated pan and dip one side of every piece of French Toast in the egg/milk mixture and place the dipped sides down onto the pan. Let cook for 2-3 minutes until the sides facing down start browning slightly, then take them off the pan and set on a plate.
  6. After removed from heat onto the plate, spread a coat of the cream cheese mixture onto the cooked sides of every bread slice.
  7. Next, layer 5 of the 10 slices with strawberries then use the other 5 slices as tops to the open face sandwiches. You will essentially have 5 French Toast sandwiches.
  8. Butter the pan again.
  9. Carefully submerge each entire sandwich one at a time into the egg mixture then, coat by dipping them into the sugar mixture before placing immediately onto the hot pan.
  10. Cook for 3-4 minutes depending on how well-done you like your French Toast then flip the sandwiches to the other side and do the same until they are cooked to your liking.
  11. Remove the sandwiches from the heat and top with powdered sugar or syrup or other fruits!

FT 5

White Chocolate, Strawberry, and Cream Cheese Cookies

I’ve been looking for a new cookie recipe to celebrate the arrival of this beautiful Spring weather we are having in Virginia and also for an excuse to indulge in strawberries and chocolate. I found this perfect recipe on Pinterest and knew I had to make them ASAP.

As luck would have it, the Annual Foxfield Spring Horse Races are this weekend in Charlottesville, Virginia, and my friends and I are joining in on the festivities for our fifth year in a row. We decided to do a potluck tailgate, and I signed up for desserts and cannot wait to contribute these tasty cookies!

I decided to double the batch from the original recipe (which made at least 50 cookies!). i also used 2 teaspoons of cream of tartar mixed with one teaspoon of baking soda to replace the baking powder ( I only used 1 teaspoon of this mixture in the dough) since the Giant near my apartment was all out of baking powder- womp. I do have to say the dough was a bit gooey and difficult to work with at first, but setting them in the fridge for a few minutes before baking definitely helped. The consistency of the cookies ended up being soft and chewy…exactly how I love wanted them!

Ingredients (for a 24-count batch):

1 1/4 cup all-purpose flour

1/2 teaspoon baking powder

1/8 teaspoon salt

1/4 cup unsalted butter-softened

4 oz cream cheese-softened

3/4 cup sugar

1 egg

1 teaspoons vanilla extract

3/4 cup chopped fresh strawberries

2 tablespoon lemon juice

1-2 tablespoon flour

5 oz white chocolate, chopped (I used Nestle white chocolate chips)

SC 3

Instructions:

  1. Preheat the oven to 350 F and line pans with parchment paper.
  2. Pour fresh lemon juice over chopped strawberries, drain them after a few minutes.
  3. Whisk together 1 1/4 cup all-purpose flour, salt and baking powder and set aside.
  4. Beat butter with sugar and cream cheese until it’s light and fluffy.
  5. Add egg and vanilla and mix well.
  6. Gradually add flour mixture and mix until it’s well combined.
  7. Stir in chopped white chocolate.
  8. Sprinkle strawberries with 1-2 tablespoon flour, toss them until all strawberries are coated with thin layer of flour and then stir them really gently in the batter.
  9. Drop heaping tablespoon of batter onto pan leaving an inch space between.
  10. Set the cookies in the refrigerator for 5-10 minutes before baking.
  11. Bake for 13-15 minutes( until the edges become golden brown).
  12. Indulge!

SC 5

Funfetti Mug Cake for One

FMC 2

By Natalie Anne ❤

I’ve tried to make a few Mug Cakes before, mainly just Chocolate Chip Cookie-esque ones, but they never seem to turn out how I want them to. However, last night I was craving something sweet to eat while watching the new season of Bates Motel and realized I had about half a bag of Funfetti Cake Mix sitting in my cabinet. So I thought I would try another mug cake, hoping that this one wouldn’t fail me. Spoiler Alert: I finally found a mug cake I like, and this is it!

Ingredients (Adapted from here):

  1. 8 Tablespoons of Pillsbury’s Funfetti Cake Mix
  2. 1 Beaten Egg
  3. 1 Tablespoon of Vegetable Oil (I used Canola Oil)
  4. 3 Tablespoons of Water
  5. 1-2 Tablespoons of Funfetti Icing

FMC 3

Whip up the Cake Mix, Egg, Oil, and Water into a good ole Coffee Mug and stick it in the microwave for 1 minute and 30 seconds (I like my cakes/cookies really moist so I only cooked it for 1 minute and 15 seconds!).

FMC 4

When it’s done, if you want to make it extra tasty, plop a dollop or two of the Funfetti icing on top of the baby cake. Or if you’re feeling really ambitious, while everything is still hot, mix the icing fully in with the mug cake and you’ve got a warm, gooey Funfetti mug of wonderful deliciousness!

FMC 1

There ya go, in less than five minutes you’ve got a warm mug of Funfetti in your hand and a new trick up your sleeve!